Parallel lines are the foundation of three-dimensional (3D) art and are crucial in creating optical illusions. Allowing an artist to create shapes, patterns, movement and space, they are an essential part of kids’ art lessons. Getting started with some fun shapes is the perfect introduction to this artistic technique.
Artist and printmaker, Barbara Mason demonstrates how to create 3D-optical illusions from simple parallel lines. With help from Artey, Barbara shows how to organize parallel lines inside shapes like a heart, a cat, a hand or a box to form the basis of 3D artworks. This fun lesson also shows how to introduce color into parallel-lines art.
Materials Required for Art With Parallel Lines
To follow along with this lesson, you only need paper, pencils, markers and crayons. Internet access is also recommended for help with ideas.
Learn About Parallel Lines Art Using Available Materials Video
Discover how drawing simple parallel lines inside recognizable shapes can create 3D-optical illusions.
Parallel Lines Using Available Tools with Barbara and Artey Lesson Plan
Create Optical Illusions With Parallel Lines
Follow along using the video transcription below as Barbara and Artey use available materials to draw parallel lines inside various recognizable shapes.
Golden Road Arts is a nonprofit that offers art classes for kids so they can make the most of their own creativity. Hi, this is Barbara Mason. Welcome to Golden Road Arts. I hope you’re aware that Artey, my mascot back here, and I both have our masks on because. We don’t want to catch the COVID and we don’t want to be sick and we don’t want to give it to anybody else. But the problem with having a mask on when I’m teaching is it’s pretty darn hard. And since I’m the only one here except for the camera, I’m going to take my mask off. But when you’re with other people, you want to make sure you keep your mask on. So I am to take it off and lay it down right here while we work.
So the last time we were together we talked about lines, and we talked about different kinds of lines. We talked about some lines that were horizontal. We talked about lines that were vertical, they go up and down. We talked about lines that were diagonal, means they go corner to corner like this. We talked about waving lines, But one of the things that we really didn’t talk about was parallel lines.
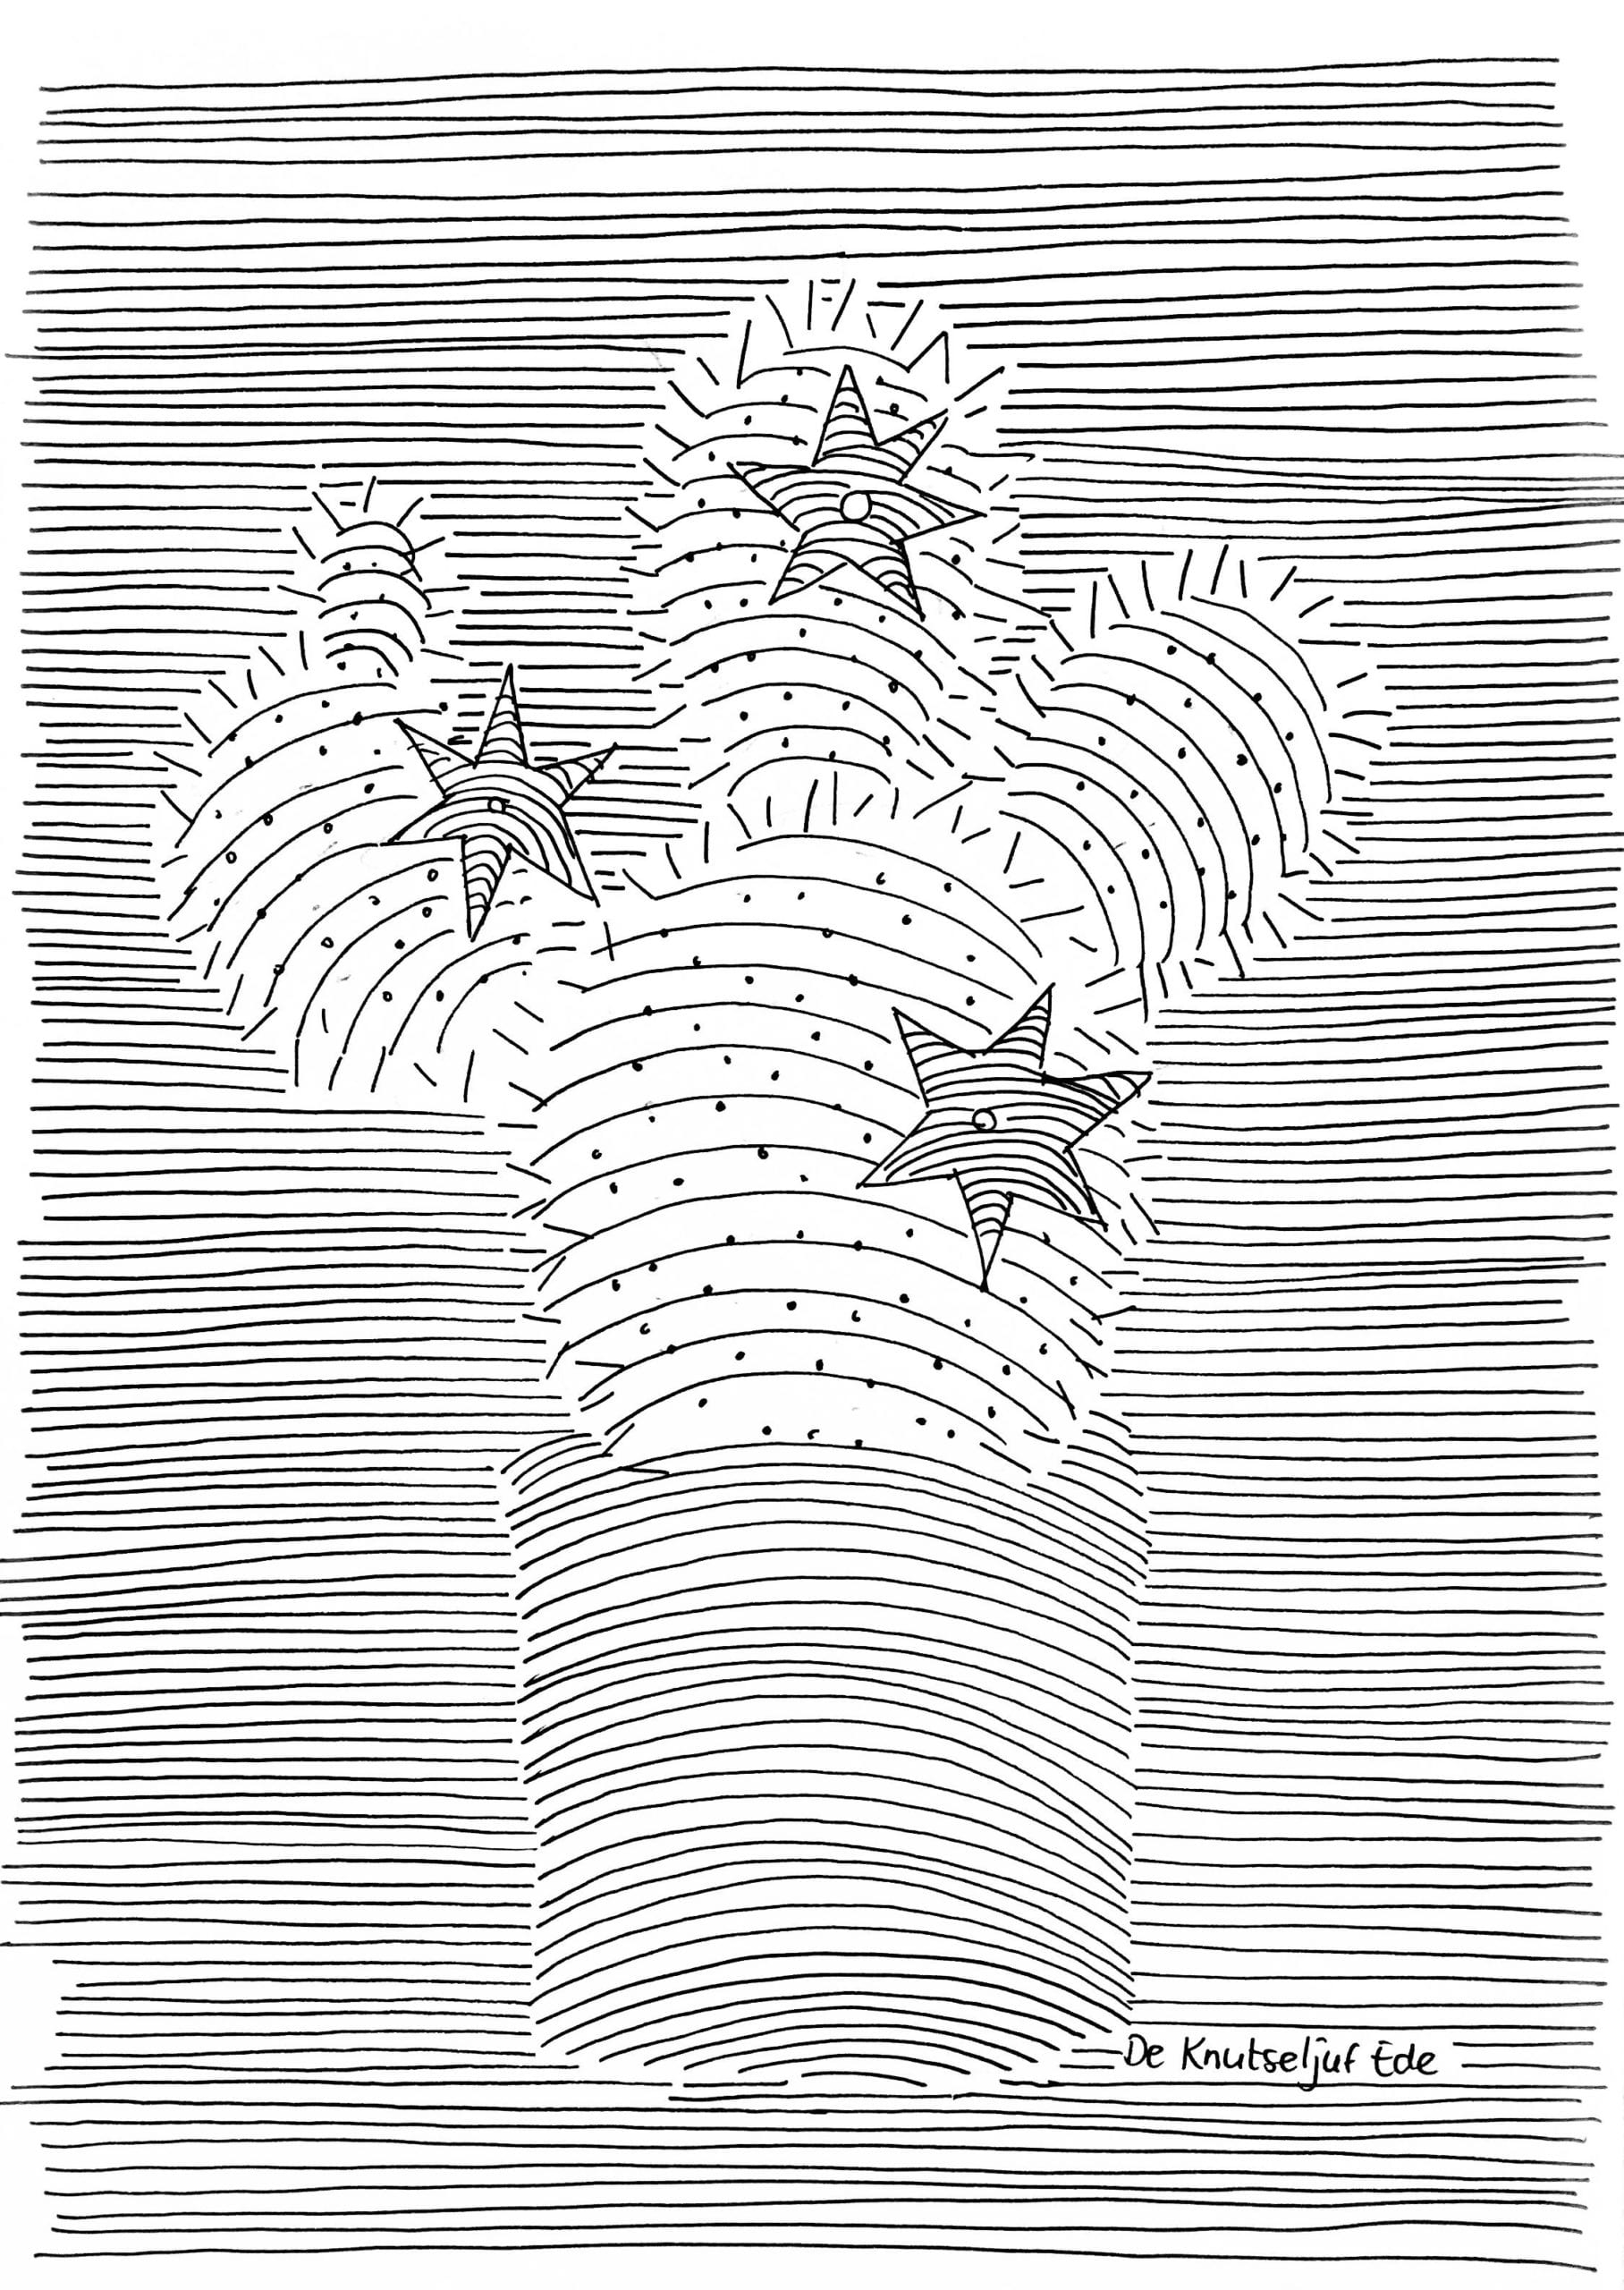
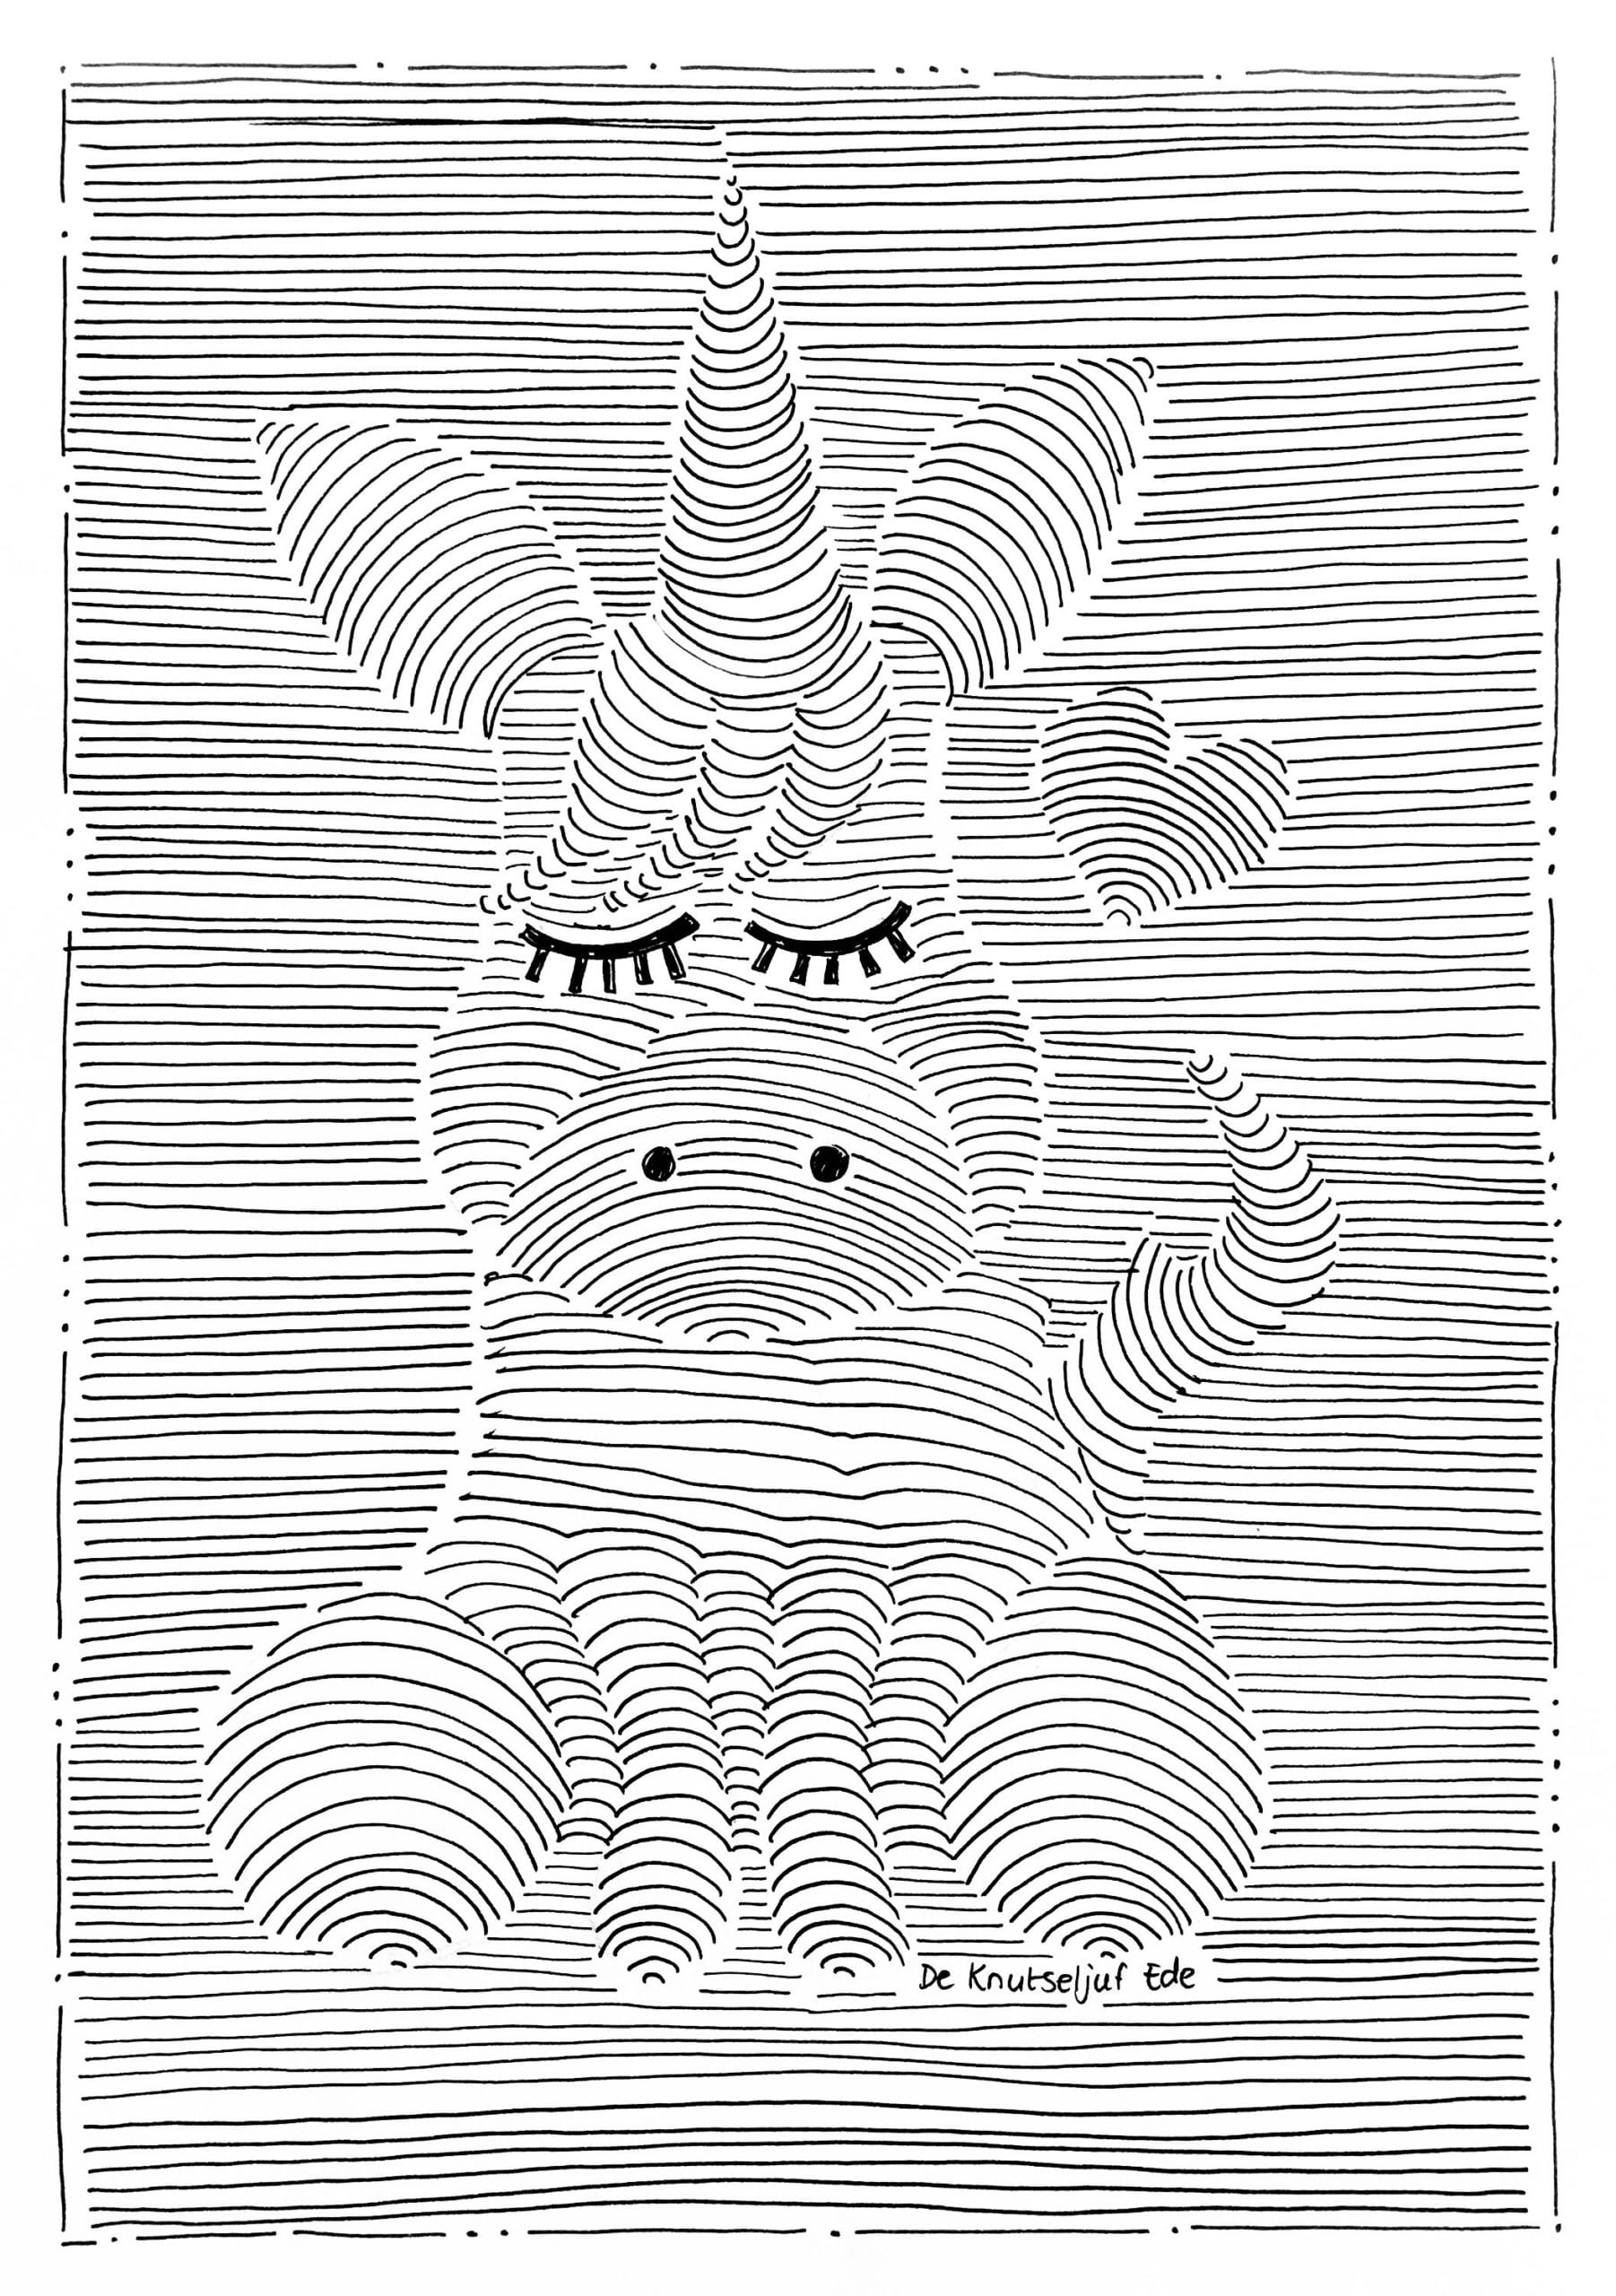
Now these lines are all parallel lines, and the reason they are parallel is because they are pretty much the same distance apart. And so when you do lines that are right together like this, and the same shape, they are parallel lines. It doesn’t matter if they’re squiggly lines or if they’re straight lines or if they are zigzag lines. As long as they are right together and doing the same thing, they are parallel lines.
So we’re going to do some really fun things today with parallel lines, so I have some really good examples of things that we’re going to do at home or in class with the Internet. You can see that I have a heart here, and what happened is there’s lines behind it, so they’re all parallel.
And what we’re going to do is we’re going to connect these lines. We’re going to pretend there’s the line right down in the middle, even though we can’t really see it. We’re going to pretend there’s one there.
And then we’re going to connect this line, we’re going to connect this line, we are going to connect this line, and we’re going to connect this line. So do you see what’s happening? Because we’re doing this, we’re fooling our brain. Our eye knows that this is a flat piece of paper, but when you start drawing these parallel lines like this, what happens is pretty soon your brain starts to see this, not flat. But it starts to see it as if part of it’s coming up. Parallel lines are really good at fooling our brain that way.
So the next thing I’m going to do is I’m going to take my black pen. I want to go over these pencil lines. Because I want it to be a little sharper. One of the things we can do once we get these lines black is we can take our colors and we can color these. Because this is a heart. Usually, hearts are red or pink. Didn’t have to be. Because it’s your art, you can make it any color you want, and you can make it each section a different color if you want. OK, now we have our heart. I’ll start right in the middle with pink. Everybody likes to color, coloring is very fun. It’s good for you to color.
And then maybe we’ll use another, this is called rose, No, actually just called red. We’re going to color each section a little different color here, and when we get done, we’re going to have a pretty amazing looking heart. I’m going to use all warm colors on this. I’m going to do another section pink. I’m not going to use any cool colors. So you know that the cool colors are the water colors, and the ice colors. So they are blue and green. Colors that make you think of things that are cold. The warm colors are the sun colors, things that make you think of things that are hot. So that would be red, orange, yellow, and pink. OK, so now we got. Put another red down here. Had another red down here. Oh, I forgot a line. OK, so now we’re going to do this bottom orange. And this will be orange. Do we have more warm colors? Got a nice yellow here. Let’s try that. So now when we get done with this, we’re going to have a really, really beautiful heart. This is the kind of thing that you can make it any color you want. You could color the outside lines if you want, as well as the lines that are in the heart. We can do it anyway you want. That’s a great thing about art. You can make it any way you want, because it’s your work. OK, so now we’ve got our heart done. Our heart looks pretty darn good. I am going to hold this up so everybody can see it.
The next thing I want to do is I’ve got a cat here. As I said, there’s a site on the Internet that has a lot of these drawings on it. We’re going to post that with a video at the end so that you’ll be able to download that if you want. you’ll be able to go on there and look at all the sites, all the different ones.
Now, what we’re going to do is because this is a cat, we got to make his nose. Cats have noses, that kind of look like triangles. They have eyes. We’re going to make him some big eyes here. And he kind of has a little mouth like this. OK, so then I’m going to take my pencil, I do this with a pencil so that I don’t make a big mistake. Oh, and maybe the other thing we’re going to do is we’re going to give his feet here. We’re going to get his chin.
Then what I’m going to do is I am going to connect these lines. Again, the same way I did in the heart. What’s going to happen is going to make this cat look very, very much like he’s a three-dimensional cat. He’s not going to look like a flat cat anymore. He’s going to look like a cat that’s leaping up in the middle. Instead of looking flat, he’s going to look very, very round.
This is a really fun thing to do. It takes something really flat. Trick your brain and make your brain think that it’s round when it’s really not round. We’re going to come down here and we want our cat to look like it’s really three-dimensional. If you don’t line this up perfectly, it’s alright. Just want to do your best, do it pretty good, get as close as you can. So now you can see that my cat doesn’t look flat anymore. He’s starting to look like he’s really three-dimensional. Now, we’ve got its tail. This is kind of interesting, his tail- Instead of going straight across – his tail is going up. So you can see that by going up, we’re really making him look three-dimensional. Look at that, we have a flat cat that is not flat anymore.
OK, so now we could take our black pen again, make the lines darker. We should just do that outline of the cat too. I don’t know, I don’t know if we should do the outline or not. Looks pretty good even without the outline. I’m not going to take the time to color this all-different colors because you can do that at home, or hopefully eventually in your classroom. We’re going to be back in class sometime. We’re not going to always be doing home schooling. So you can see how my cat is starting to look very, very round. You see how that is happening? How it’s tricking your eyes? These parallel lines are making your eye tricked to think that instead of just this flat piece of paper, this cat moves.
I have another example of something that you can do really easily at home. You can take your hand. And you can draw your hand. You take a pencil, and you just lay your hand down on a piece of paper like this, and draw around it with your pencil. Then., when you start putting the lines in, I think it’s probably easier to do these lines inside, once you get him inside. It would be easier to take them outside. You see now how my hand starting not to look flat anymore, start to look like it’s lifted up. So this called, the word for this, is called optical illusion, and that means what you are seeing is not what really is. It’s just what your brain tells you it is.
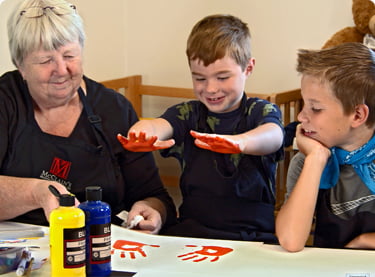
So you can see as you go along, that your hand is getting very, very fat, and so we’re going to put this on the Internet also, and you’ll be able to just download this off the Internet and color it. I have a sample here of one that’s been colored, and it’s just so beautiful. Look at this hand, isn’t this amazing? So you can do this too with your hand. You can color it, or you can just color our sample, that’s fine. But all of these, again, these are all parallel lines. I want you to think about parallel lines, and there’s other things that you can do with parallel lines as well.
I’m going to show you a little trick here. The other thing we have that we’re going to put on our Internet is this. If you look at this, you can see that this looks like a donut and a ball, and because of the way the lines are going cross it, even though it’s a flat piece of paper, it looks like it’s coming towards you. That’s something also that you could color and do the lines in.
The other thing I’m going to show you is another optical illusion. What we’re going to do is we’re going to make a square. I like to have things in squares. It’s always good to have an edge around what you’re doing. And inside of this, we are going to make another square. But instead of making it the same as the square that’s there, we’re going to do it kind of at an angle.
And then what we’re going to do is we’re going to draw a curve line from the point of our square to the corners. So what this is going to do is this is going to make this look very very, very much like it’s moving. We’re going to make more parallel lines that follow that first line exactly. Parallel is such an interesting word, isn’t it? Wonder who thought of that? Probably the Greeks. They seem to have thought of all kinds of stuff. OK, so now we’re going to follow this line. Do you see what’s happening? Do you see how the square in the center is starting to look like, it’s down in a hole?. Or it starts to look like instead of being down in a hole, it starts to look like it’s coming up toward you. Just depends on how your brain sees it. It’s an amazing thing the way your brain works.
So now, we have these edges to make it look like it’s down in the hole. What are we going to do in the center? We just going to leave it empty? I don’t know. Maybe what we could do is we could draw a box. Then we could draw another box inside it, each one getting a little smaller. So now does it looks to you like it is a deep hole? or it looks to you like a pyramid coming up? Just depends on how your brain sees it. So I want you to remember how to do this, so I am going to draw it again for you so you remember.
The first thing you do is you do your outside box. And then you do an inside box. The inside box, instead of being parallel with this, it’s going to be at an angle. Then you are going to take your lines from the corner to the corner, from the corner to the corner, from the corner to the corner, from the corner to the corner. So this is how you start to get this finished product. You can again color these all different colors. and it is really really pretty when we are done.
The other thing I want to show you is I’ve got another couple of examples here that I found on the Internet. This is a really interesting example, and this is done kind of the same way that we did where we drew our box. But they’ve drawn their box a little differently. So I’m going to show you how you would start this.
You would draw your box like this. Instead of doing their box on the inside, they made marks like this on the outside. It is pretty similar to our box but not exactly the same. I guess this actually comes this way. Then what they have done is they just done all these parallel lines, one right beside the other. This is something that is almost confusing, I don’t know how your brain will think this. It will think things are going in or coming out or moving up or moving down. You can see if you do this kind of things, your brain is going to look at it, It’s going to say what’s coming forward? what’s going away? I can control that by my parallel lines. It’s pretty exciting to be able to control that.
There’s one other thing here that I found on the Internet that I really liked, and it was this one right here. What they have done with this one to make it work is very interesting. Again, I’m going to begin to draw my box. I always like to have a box. What they did here is they just drew some lines. They just drew a straight line, and then they drew kind of a wiggly line, then they kind of drew around squiggly line, and they drew another, and then maybe another straight line. Then what they did rather than just making the lines go straight across, they thought, OK, how can we make this really interesting? What would really be interesting? What if this line came down and then it went up? And then it came down again and then it went up, and then it went over?
So then what you have to do in order to make this work is you have to say, OK, I’m going to make all my lines, going that way, I’m going to make them all follow this pattern. They’re all going to be parallel, meaning they’re going to be right next to each other. And they’re going to be going the same way. So you can see already that things are looking like they’re moving forward, or they’re moving away, or they’re going up hills, or down into valleys. And these are just lines on a piece of paper, but it fools your brain. And your brain says, oh, that’s not flat. I can see it’s not flat. I can see that it’s moving. And do you think it would move faster or slower if we put the lines closer together? If we put the lines far apart, does it seem like it’s moving slower? Is that looks slower? What if we put them real close together? Does it seem it’s moving faster? How is your brain being tricked? What if we skip a section, and leave it empty? How will that trick our brain? Will our brain think it is a hole if we leave the section empty? It’s amazing how what you draw can trick your brain.
So these are some examples of parallel lines, and I hope you can have a lot of fun with this. I hope you take your paper, this is just paper out of the computer/out of the printer, nothing too fancy, this is just a pencil, these are just crayons, and this is just a black pen. I was able to make all of these different designs just using these simple materials. So simple materials can give you some really really nice results.
So now that I’m done with my drawing here, I’m going to put my mask back on because we want to be really careful that we don’t get sick and that we don’t make anybody else sick. So as long as we have the COVID problem, we’re going to be wearing our masks, so I hope that I will see you again at Golden Road Arts. And then you’ll come make some artwork with me. Thanks again! Again, this is Barbara Mason and have a good rest of your day.
Samples


Simple Art Lessons for Kids Using Household Materials
Golden Road Arts is an established creator of instructional art guides and in-person live events for children. We demonstrate vital artistic techniques and concepts that aid a child’s overall development. If you are a parent or teacher looking for quality tutorials, watch our free art lessons today.