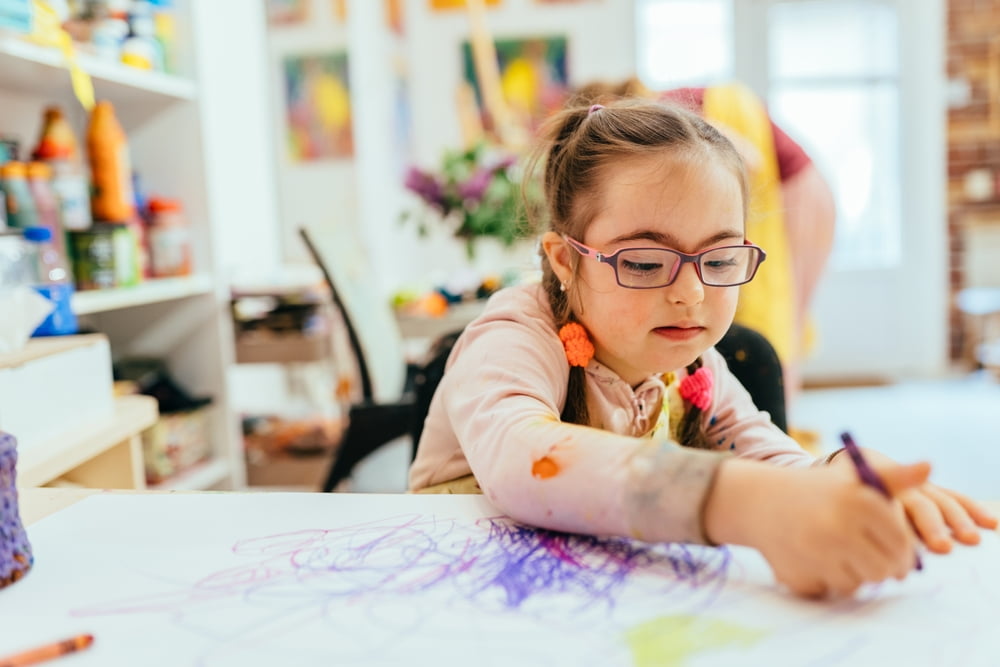
Creating portraits is one of the most fun and rewarding art lessons for the classroom or home. Using some accessible art materials, kids learn how to identify the different shapes, curves and lines of the face and translate them into art. And not only is portraiture enjoyable for children, it can also aid in their overall development.
In this lesson, artist Barbara Mason details how anyone can create an art project using items commonly found in the home. Using crayons, markers, paper, cardboard boxes, paper bags, scissors, tape and glue, Barbara uses observational skills and hand-eye coordination to craft a portrait from simple household items. In addition, you will learn how to curl paper and wrap a present.
Materials Required for Making a Portrait
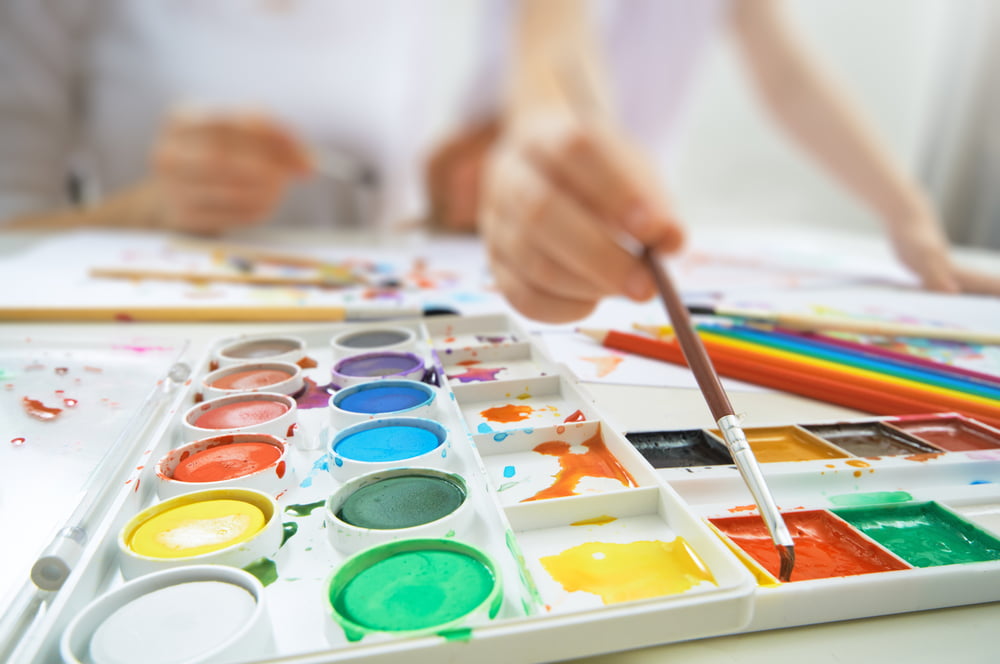
The materials used in this project include paper, cardboard boxes, paper bags, crayons, markers, scissors, tape and glue.
Discover How to Make a Portrait at Home Video
Join Barbara as she explains how to take standard items like paper, crayons, a small box and paper bags and turn them into a detailed portrait.
Making Portraits from Paper, Colors, Boxes and Paper Bags Lesson Plan
Making a Portrait Using Paper, Colors, Boxes and Paper Bags
Read the video transcription below as you watch Barbara skillfully transform some simple household items into a portrait incorporating coloring, cut paper and glue.
Golden Road Arts is a nonprofit that offers art classes for kids so they can make the most of their own creativity. At Golden Road Arts we believe that children’s access to art is the key to reaching their full potential.
Hi everybody, welcome back to Golden Road Arts. We have some fun things in store for you today. You’ll notice I’m wearing my mask, and Artey back here also has his mask on because we’re trying to be safe during this pandemic. But it’s hard to talk to you through my mask when I’m doing these demos, so because there’s nobody in the room but me and the camera, I’m gonna take my mask off. Artey will keep his mask on just in case he forgets to put it back on when we’re done.
So what we’re gonna do today is we’re going to make some portraits. They can either be real portraits or they can be fun portraits, or they can be monsters. They can be anything you want.
The first thing we’re going to do is we’re going to get a support for it. We could use a paper bag, or we could use a box, and I’ve got a box here that is an ice cream sundae box. What I’ve done is I filled it full of paper so it would be really stiff because this is a real lightweight box. Then I’m gonna cover it with brown paper so that it looks all one color. I’ve just taken a bag from the Safeway brown paper bag. You see it says Safeway on it, but I’m going to put the part that says Safeway on the inside. I’m going to fold it like this, just like it was a Christmas present. Tape this right at the center, take that down, and bring this over, make it nice and tight. Should put it on the other side, I am doing it with my left hand, and makes it awkward. OK, now in order to make this like a Christmas present, we’re going to fold the corner in, and we’re going to push it down. We’re gonna do the same on this other side, fold it in, push it down. We’re gonna fold the top down, then the bottom up. I’m going to put some tape on it. So not only are you learning how to cover a box with brown paper. But you’ve now learned how to wrap a Christmas present. Just gonna tape it closed here. So this whole box is going to be the face. We will do the other side. I can stand it up this time so it’s easier to tape it. You notice it’s not perfect, but it’s my artwork so it can be any way I want it to be. It doesn’t have to be perfect, it just has to be fun. So, there I’ve got my box. So this is my face.
I’m going to start with a mouth. I’ve drawn all these mouths. Now you can make your own mouth. You don’t have to use what I’ve drawn if you want, but I’ve drawn all these mouths, and then I colored them with my crayons. Here is the mouth before we colored it. This is colored. I’m going to pick a mouth that I think might be good. Maybe a big mouth. This is kind of a big box, maybe this one on the bottom. I’m just going to cut it out. You can download these off the Internet if you want, and use the ones I’ve drawn, or you can draw your own, or you could just cut one out of coloring paper if you wanted. We cut our mouth, I wanna put it right about there. You can use any kind of glue you want. I just happen to have this glue that’s handy. This is called tacky glue. It’s kind of thicker than school glue, but it’s kind of the same idea. Now I am going to turn it over and stick it down. OK, so now, get it straight, guess it wouldn’t matter if it is really straight.
Now I need a nose. I made for you a sheet of mouths, and then I did a sheet of noses, and a sheet of eyes. You could choose the ones you wanted. I don’t know what kind of a nose should go with that mouth. Maybe this green one up here at the top. I’m going to cut it out just like we did our mouth. And again, if you want to make your own nose, and you don’t like the ones I’ve done, that’s perfectly fine. Sometimes you have an idea of what things should look like, and maybe you want to make it look more like your mom or your dad, or your sister, or your brother, and maybe they don’t have a green nose, and you would like to make their nose look more like a real nose, You could do that. OK, got my nose here.
Now I have eyes that I did a sheet of eyes. What kind of eyes do I want for this? Maybe these round ones right here would be the best. And again, if you want to eyes that are your own, you can see there’s lots of different ones, so they’ll give you ideas. You can either download and color the eyes I have, or you can make your own. So you just have to think about which way you want them to go. How do you want them to look? Your eyes are pretty important to make your expression. Your mouth, if it’s smiling, makes an expression. It’s a big word, isn’t it expression? But it’s pretty important word, tells what we’re thinking by smiling or frowning, or how we’re looking our eyes and our mouth. It’s pretty important to give people a clue to what we’re thinking. It’s very hard to hold your face still. And not make any expression at all. Let’s see if we can do that. It’s really hard, really, really hard to hold your face still and not have any expression. Our expression say a lot about us. OK, there I got my eyes.
Now I got eyebrows and eyelashes here somewhere too. First, my eyelashes. so these are the eyebrows. Where is my eyelashes? Here they are. So eyelashes, maybe these right here in the middle will be good. When you see your eyelashes, how do you think they go? Do they go up? Do they curl? Do they go down? It’s kind of hard to cut them out perfectly. I’m just going to leave some of the white because that makes it a little easier to cut them out. And it’s my artwork so I can do it anyway I want. If you follow the directions and you do it exactly the way we say, you get something that’s real similar to what we’re doing. But if you don’t follow the directions and do it differently, you’ll just get something else. But it’s your artwork, you can make it look however you want. Those eyelashes, wish I had eyelashes for that long. My gosh look at that. Pretty fancy.
OK, so now we need eyebrows. Here are the eyebrows. What kind of eyebrows should we do? Maybe these yellow ones. Lots of choices here. Whatever you decide to do will make your portrait or your person have a different expression. They can look surprised, or they can look mad, they can wrinkle up their nose. Course if they add their mask on, you won’t be able to see, but hopefully we will have the vaccination pretty soon, and we won’t worry about wrinkling up our nose where nobody can see it. I really miss people without their masks. Have you missed seeing people without their masks? I think we probably all have. OK, so let’s get our eyebrows on here.
Now, one of the things that’s hard to do is hair. It is hard to make hair curly, it is pretty easy to make it straight. Oh, this is coming along. This is looking good. So if we want straight hair, we could do hair like this. Now I’ve just cut this out of the brown paper. We could glue this all across the top, maybe the long one right in the middle. These on the side. That would look like pretty good hair. Or we could try to do curly hair, curly hair is a lot harder, and I’m going to show you how to do it. You can take a strip of paper, and you can take a crayon or pencil, and you can roll it around. You can roll it around your pencil or your crayon, kind of tight, and when you get to the end when you unroll it, it’ll still be a little bit curly. There’s another way to make it curly, but it’s a lot harder to do. OK, so there I take that up. It’s a little bit curly, but it’s not really curly, but if I had a lot of these and I hooked him on it would be pretty good.
Now the other way, you can take your scissors, you might have to have your mom, or your older brother, or your older sister help you do this. So you take your scissors and you put the paper here, and you put your thumb here, not where you’re going to cut yourself, but down a little bit, and you just start pulling the paper through, and you have to be careful ’cause if you pull it too much, you can tear it. Look at how it curls. Isn’t that amazing? It curled more than when we wrapped the crayons. Let’s do a combination of straight and curly. What do you think? So there we have our portrait of our person. I am going to stand it up facing the camera so you can see it.
I’ve got another one that I’m going to show you how to do that has a little more work. It’s just as fun. This is a stronger box. This is a real heavy box so I didn’t have to put anything inside it. It is open on one end, but I’m gonna stand it on that end, so it won’t matter that it’s open ’cause nobody will see that. So what I want to do is I want to put something over the front of this, so It would be like a face.
I made this paper. Now you can see how this paper is, got lots of doodles on it. I’m going to show you how to do that. It’s pretty fast to do it. If you just colored this paper, and tried to color it all one color, it would take a long time, really long time to color that. But if you take a crayon or a marker, even a crayon would work, but a marker works faster because it prints faster. And you just go like this. Squiggles all over it. I’m not gonna do the whole thing ’cause it takes a little time, but you can see how I did that and then I just came back. I took a crayon kind of the same color and I just came back and I went like this over the whole thing real quick. So it almost makes it look solid and it was real fast to do, and it’s not solid, so you can see how that looks pretty solid. What I’ve done on the back of my box, I laid my box down like this on the back of it, and drew around it with a pencil so I could see where the line was, I am going to cut it out, and then I’m gonna to glue it to my box, and that’ll be the face.
I don’t know anybody that has a face that looks like this. It’s all curly, but that is our artwork, it can be any way we want it to be. OK, so there it is, the perfect size. So we just glue that down, make a big X in the middle, big X in the middle is always a good way to glue down a piece of paper. Now I am going to lay this on here, here we go, perfectly glued down, so there’s the face.
All we need are more eyes. And we could actually use the ones that don’t have any color in them, because there’s so much color in the background. I think I’ll use a mouth that’s got a lot of color, which one do you think would look good on there? Maybe this green one, maybe this one? Let’s do this one. This has kind of a strange funny smiles, Isn’t it? but it’s a strange funny face, so it’ll be alright. So just think how much fun it would be if you did a bunch of these, two or three, and you set him all up when you’re back in school, you could set him up in your room. Everybody could make one and you could set him up in your room, and they’d all be different because everybody would be doing different things. That’s the great thing about artwork. You can all be different and still look good. Look at that, I really like that smile. OK, so now we need eyes, and a nose. What kind of a nose do we want? This one looks kind of like a beak, Gosh, it’s hard to choose, and I guess we’ll choose the beak. There we go. Oh, I think I’m gonna like that. There’s the beak.
Now we have to get eyes. Which eyes do we want? Maybe these green ones, or maybe these red ones? I think we’ll get the green ones. I don’t want him to look too mean, these look kind of mean. Making artwork is so much fun. I really like doing these samples for you. I like making the drawings. Look at the personality that gives him. Right away, he got a personality. See before he didn’t have eyes. He didn’t look like much, but now that he’s got eyes. Wow, what a personality. Look at that, amazing. Suddenly the eyes made him look almost real, like he could start talking to us. What do you think he would say? He might complain about the way I made his face all those squiggles, he might not like it. Look at that.
OK, so now we need eyebrows. Or maybe we’ll just do eyebrows. I don’t think we’ll do eyelashes on this guy. We will just do these blue ones. So hard to choose. Depending on what you choose would look a lot different. You could do a better job in cutting out than I am doing. You could cut out all these little spots so that no white showed. But I don’t mind the white, so I’m just going to leave it and let it show a little bit. OK, so now we’re going to put a little glue on. This is amazing what a different personality he has. So if we chose a different nose, or different eyes, or different eyebrows, he would look quite a bit different. Come on, squeeze out my glue is almost empty. Oh, he’s coming along looking pretty good, isn’t it?
We need some kind of hair. Again we could make curly hair, we’ve got these strips, we could curl these and make curly hair. Or we could maybe take this piece that we just did. If we could just cut that into hair. Here we go, kind of looks like hair, we just put this across the top. OK, so there’s my second portrait, person monster depending on what you want to make out of it. These are very very fun, I hope you enjoyed what we’ve done today, If you make these, especially if you do the part with the scissors and the curling part that you’ll get somebody to help you, maybe your mom, because it’s kind of hard to do. The skinnier this is the more curls, but the harder it is to do. ’cause it’s really easy to tear it. You could get your mom to help you do this, you just start here and you put your thumb here and you pull it like this. Look at that, curl, guess you could have a little curl, why not.
Thank you so much for coming to visit us at Golden Road today. We hope you’ve had a good time. We’ve certainly had a good time making our portraits, and we hope that you will make them at home. You could just use a piece of paper. You wouldn’t have to use a box, but it is a little more fun with a box that you could stand up. We’re going to put these templates on the Internet so will be really easy for you to print off and color them if you want. Or if you want to, you can make your own. These are just made out of paper that you use for your computer, it’s just a very very thin lightweight paper.
So again, I am Barbara Mason. This is Golden Road. Thanks for visiting with me today. I’m going to put my mask on before I leave because I don’t want to be sick and I don’t want to make anybody else sick so. Bye bye.
Golden Road Arts is a nonprofit that offers art classes for kids so they can make the most of their own creativity. At Golden Road Arts we believe that children’s access to art is the key to reaching their full potential. Using simple materials usually found around the house, we explore the basics of the creative process. Together with Barbara, her sidekick Artey the art bear and other Northwest artists, we invite you to join us on our creative adventure along the Golden Road.
Access Free Educational Art Content for Children
If you’re looking for a broad range of free art lessons and in-person events, you’ll find them at Golden Road Arts. Our Oregon-based organization creates short, accessible instructional tutorials for kids of all ages. Watch our free art lessons here.
Samples