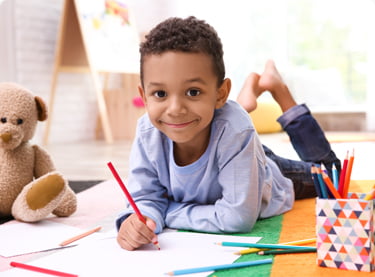
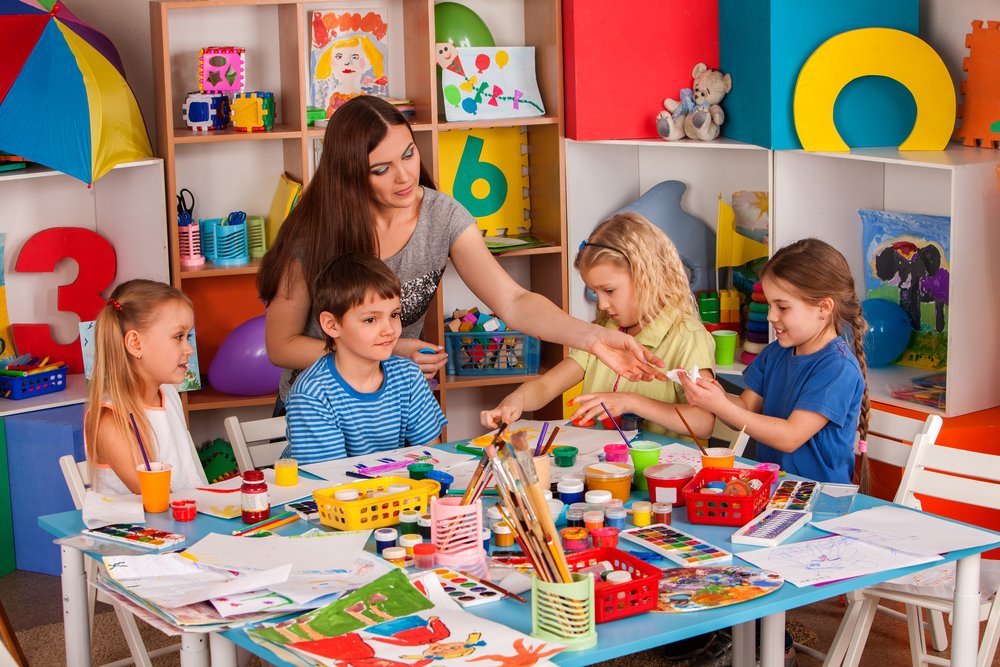
Learning about colors is an integral part of a child’s development. When young kids create art at home they are introduced to primary and secondary colors – an important factor in developing cognitive skills. At Golden Road Arts, we have created fun lessons for kids to increase their understanding of the colors.
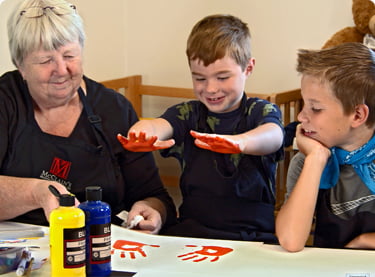
Artist, printmaker and educator, Barbara Mason, demonstrates a hands-on approach to learning primary and secondary colors with the help of her grandsons Wes and Atticus. By creating fun (and slightly messy) handprint art, children can see how colors are transformed when mixed in various combinations.
Understanding Primary and Secondary Colors With Barbara Video
Barbara introduces primary colors and shows how secondary colors are created in this fun and experiential lesson.
Primary & Secondary Colors With Barbara and Friends Lesson Plan
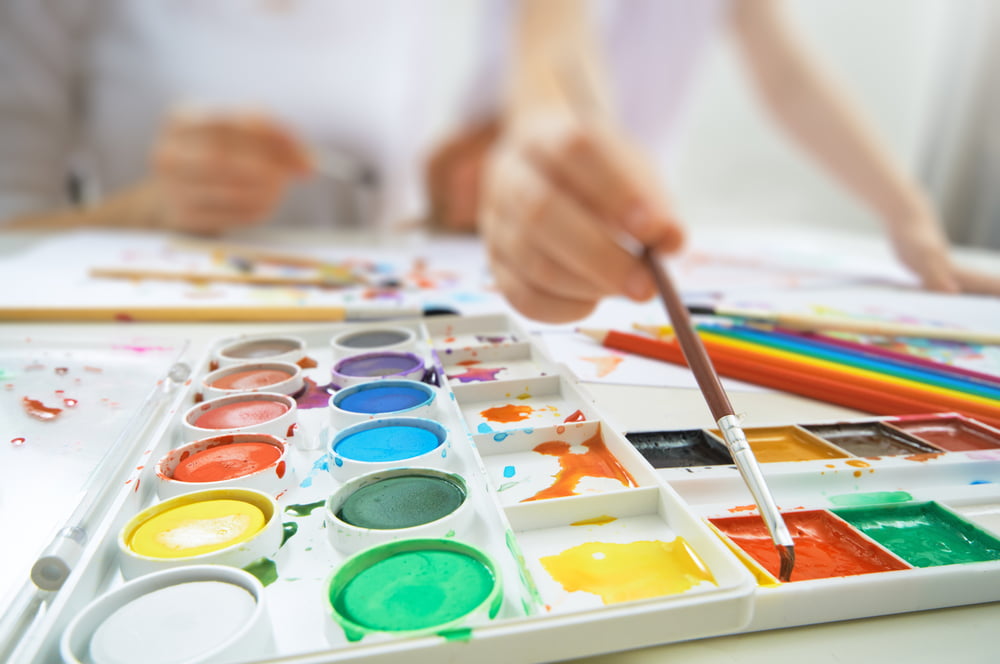
Discover Primary and Secondary Colors Using Handprint Art
Follow along with the video transcription as Barbara, Wes and Atticus create handprint art. This lesson familiarizes children with the principles of primary and secondary colors.
Golden Road Arts is a nonprofit that offers art classes for kids so they can make the most of their own creativity.
One of the things that I really want to talk about today is a color wheel. Do you know what the colors are on the color wheel? Have you learned that at all in school? In the color wheel, there’s three colors that are the most important. They are in a triangle: there is one on the top, one here, and one here. And what do you think they are? Red, Yellow, Blue. Good job! Yes, that’s exactly right.
I’m going to give you guys a piece of paper here and we’re going to do a really fun thing. We have yellow, red and blue. Yellow, red, and blue are primary colors. Let’s move this over, Yeah, good job! Wes, I am proud of you for knowing that.
OK, So what do you think? What do you think is gonna happen? We’re gonna do a fun color mixing thing, so I’m going to give you each a piece of paper, shove it over little bit Wes. There we go.
OK, What do you think would happen if you mix colors? So we’ve got our color wheel here, and we’ve got red at the top. Let me get the other piece of paper. I’m gonna make it right here. So we’re going to make our triangle. Yeah, I got the three colors right there. We got red, yellow, and blue. And yellow is usually at the top. Do you know why yellow is at the top? Because he thinks he is the most important. Because he told red and blue he wanted. Right! It thought it was most important because it thought that it looked the most like the sun. And so it thought, you know, since I’m the sun, I’m the most important I should be at the top, but really any of them could be at the top.
So what we’re going to do is we’re going to put just a little bit of yellow in our color wheel here. So I’m going to make a color wheel, but you guys are going to do something that’s even more fun. So there’s our yellow. And we are going to have our red. I don’t think it matters which side red is on. Usually, it’s on the right. I think it could be on either side.
There is our red. I forgot to get water to clean my brushes. Remember to get water to clean your brushes. Then we are going to have blue. This is tempera paint. This particular tempera paint comes from Dick Blick, but you could use any kind, it doesn’t matter. OK, so now. We have our red, yellow and blue. We’re going to do a really fun thing to show you what happens when we mix these colors together.
What do you think would happen? What do you think would happen if you mixed red and yellow together? What would you get? Orange. Are you sure it will be orange? OK, give me one hand. Don’t let this spill. Can you give me your other hand? Don’t let it spill. OK, so mix it together. What are you going to get? Mixing together like this. Orange, orange, Oh, No! We did have a new yellow. OK, wait a minute, let me wipe some of the red off, mix it together. OK, now print it. Make your handprints on the paper. I was so right. Good job! Do two more so we can get the paint off your hands. Good job! OK. Now right here, I’m going to write your name on here. Wes. It will be good if I got the right name. OK, put your hands down here I want to clean you off. OK guys, so if you’re gonna do this with your classroom. You want to have two buckets of water. You want to have a bucket with soap in it-soapy water, and a bucket with clean water so that the kids wash their hands, and then rinse their hands, and then dry them off. Maybe have a mom come and help, because when you’re doing this with the whole classroom of kids, it can get pretty messy. And then I arrange the tables in a big circle so that they just went around the circle and it worked pretty well.
And the thing you want to make sure to do is print all the different colors with everybody’s hand prints. Make sure they write their name on the paper. When you’re done, and the prints are dry, you can cut these prints out and you can make them into all different kinds of things. The last class I was in, we made them into leaves. We did a big tree. And we hooked all the handprints to the tree as if they were leaves, and it was really beautiful. So it’s a great thing that you can do for a class project.
OK, so now we’re going to do the purple, right? So what’s going to happen if we mix red and blue? Purple. OK. So you’re getting blue in this hand, you’re going to get red in this hand. And then if we’re lucky, we’re going to get purple. OK, mix them together. There you go. Getting some on your thumps so your thumbs are going to print. Alright print your hand. Put your hand prints here before it dries. OK, print them again. Print a second time. Perfect, That looks pretty good. I did a pretty good job of that. Can I go wash my hand? Yeah, go ahead. Go wash your hand and use lots of soap. This is a really really, really great color separation demonstration. Once the kids do this and they actually do it with their hands, and they’ve done it with their body, they’re going to remember this. They’re not going to forget and they’re not going to forget that these are the secondary colors.
We didn’t talk about what they’re called. Everything seems to have names, doesn’t it? So the first colors are the primary colors, and then the purple and the green and the orange are the secondary colors. Oh yeah, you wanna do yellow and blue? Sure. did we do that? We didn’t do yellow and blue. Oh, my gosh, how could that have happened? OK, hands out. Do a little tiny bit of yellow and blue. There you go, rub it together. Rub it together and you’re going to have green. Come on, rub your hands together, honey. Taking too long we’re gonna fall asleep by the time you do this. There you go. Print your hands. OK print. Now, I want to turn this around, and print it again. Try not to print over the other hands. Try to put him in a different spot. There you go, try to put one right in the middle. Can do another one, do one right in the middle. Good job. OK, so I think you can go wash your hands now too, go ahead.
We did a really great demonstration of our handprints doing our secondary colors are green, purple, and orange. So if the children do this process, they’re going to remember. You know, the important thing is, we wanted to remember this. We wanted to remember that if they mix yellow and red, they’re going to get orange. And if they mix blue and yellow, they’re going to get green. They’re not going to forget this If they do it.
Thanks a lot for coming today and thanks to my good buddies here, Weston and Atticus. They did a good job of helping me demonstrate today. We’re going to do a lot of fun things next time we meet. I hope you’ll come back to Golden Road. If you do this project with your kids or with your classroom, they’re going to remember if they mix yellow and blue that it’s going to turn green, and if they mix yellow and red, they’re going to get orange. These are important concepts for kids to know. Thanks for joining us at Golden Road. I hope you come and see us again.
Watch Free Art Lessons for Elementary and Middle School Kids
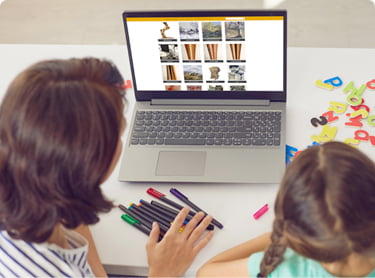
Golden Road Arts creates free art lessons for kids on a wide variety of topics. If you are a parent or teacher looking for concise and engaging art tutorials, take a look at our library of content – you can watch our free art lessons today.